OK folks – Hit the arrow just below and let’s get started.
We got us some work to do…
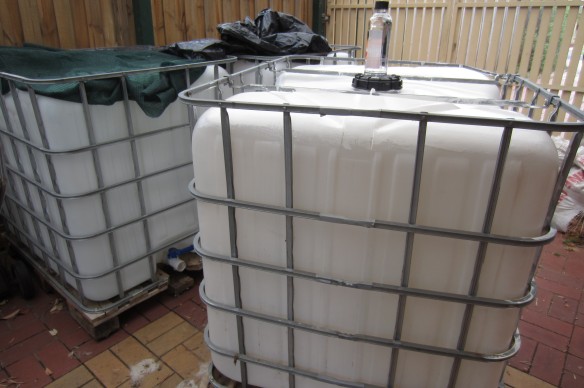
I picked up three IBC containers recently, two of which are going into an aquaponics setup.
The third one is going to help me with a drip system for the fruit trees and vegetables, and at 1000 litres will come in very handy.
Until now I’ve relied on the 220 litre ex olive drums, and they are good to a point, but there is just not enough water in there to keep the soil hydrated during the hotter months, and that was impacting on the quantity of food available from my garden.
So how does one install an IBC? Well as I’ve just discovered, it takes a bit of work to prepare the foundations for a 1000 litre rainwater tank.
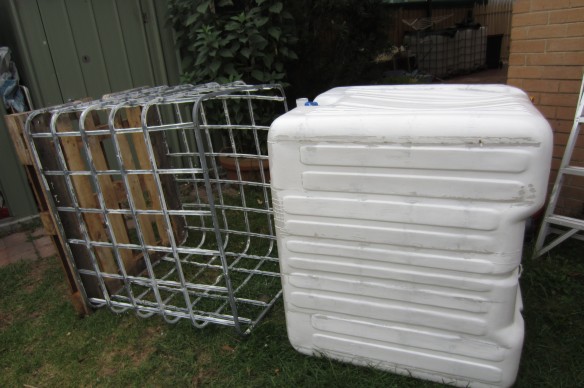
Remove the top brackets and slide the tank out of the cage. Careful now – that plastic is not the strongest, and the cage can be sharp at points!
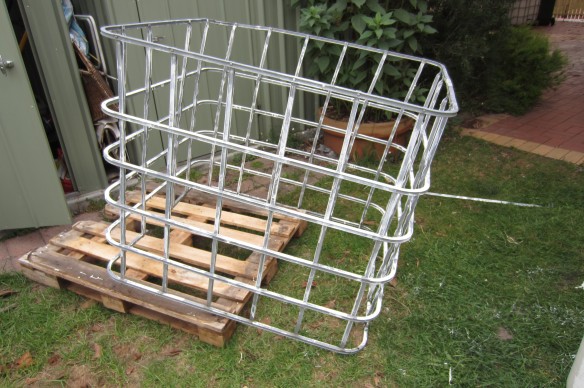
Now unbolt the metal cage from the pallet. Oh and don’t lose the bolts.
A tonne of water needs a firm and secure place to sit, and if you are relying on a gravity feed setup and want half decent water pressure then it should be well up off the ground.
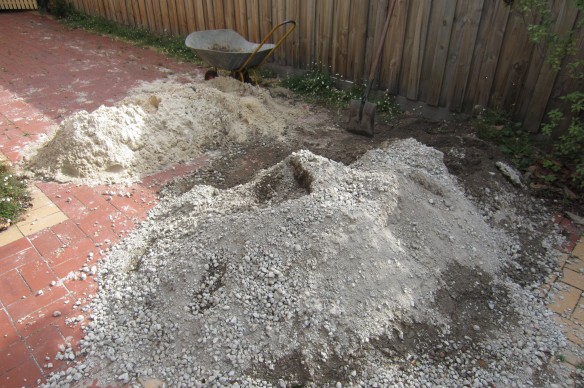
The bigger pile is crushed concrete. The second pile is rough sand. Together they will form the foundation.
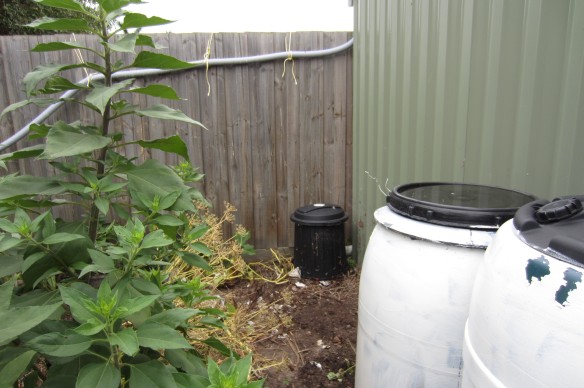
A lovely spot to place an IBC, with plenty of rainwater coming off the shed.
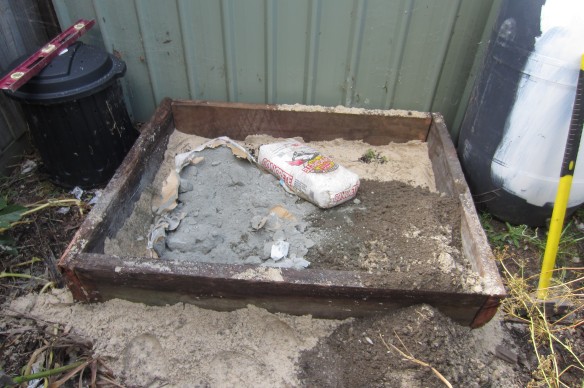
Redwood sleepers for the base, levelled off straight with sand. Now it is time to fill it up with the concrete. I also found a couple of bags of old cement under the house, and smashed them up with the rest of it.
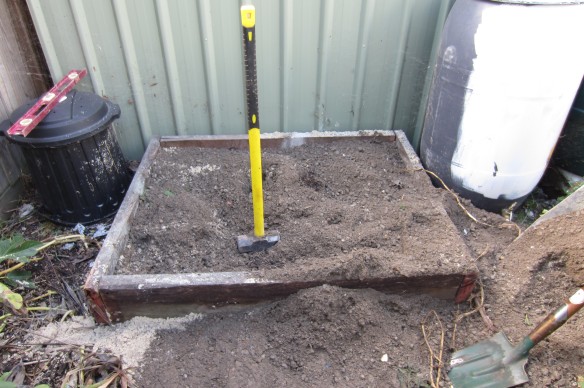
Ok now it is time to pack it all in. Compressing rock and sand with a small head sledge hammer is a tough job, maybe the hardest of all. I needed to drop that hammer about 200 times, then fill it more, then another 100 times.
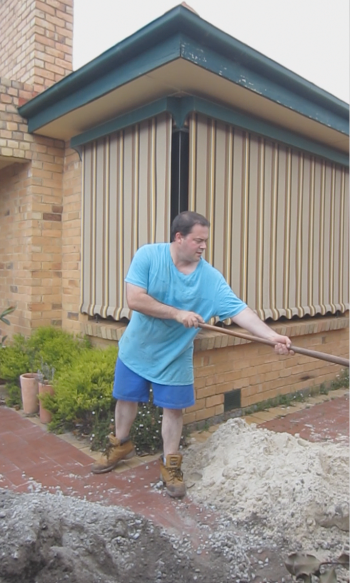
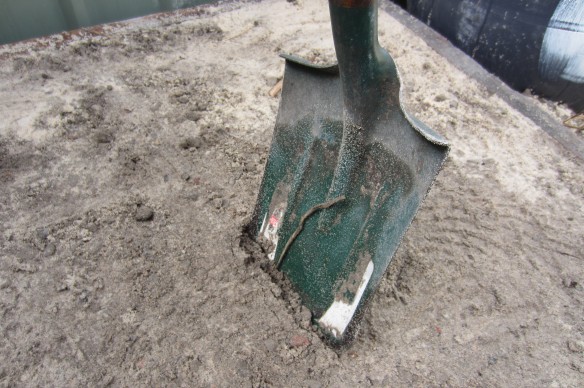
What you end up with is a very solid and stable fill – as you can see it was impossible to drive the shovel more than an inch into it.
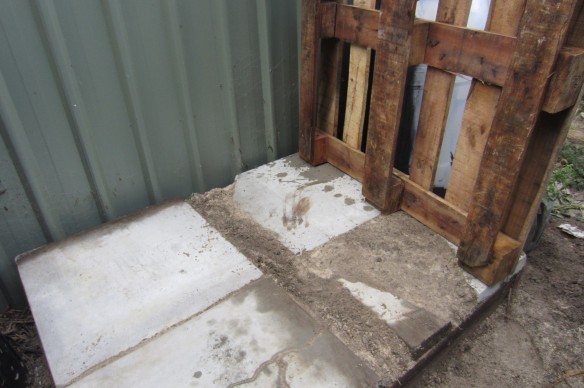
Over that I placed heavy concrete slabs, with each one weighing about 50 kilos.
The pallet goes over that and again it is levelled off, with a very slight decline to the side where the IBC water outlet will be.
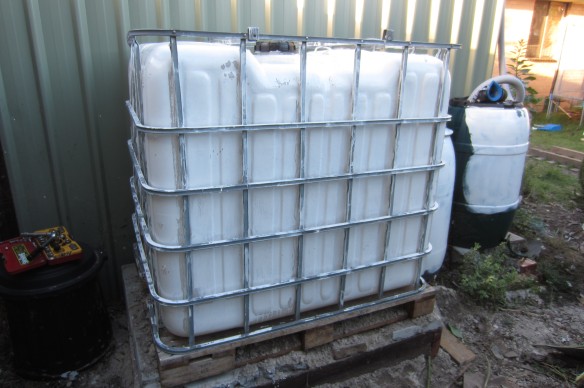
I then filled in the base of the pallet with more concrete and sand, then bolted the cage back into place, and then in went the plastic tank.
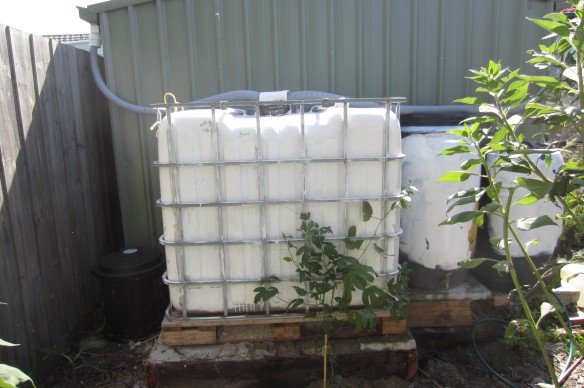
Now it is just a case of getting the downpipes into the top, and connecting the drip system from the water outlet. This might be the most well built thing I have ever done, and am very proud of the end result. I hope my plants are too!
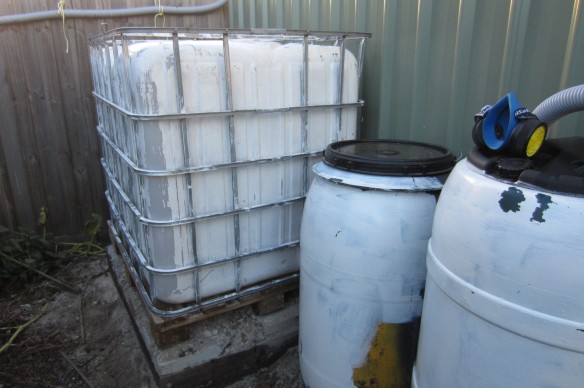
An IBC is susceptible to UV radiation, which is why you can see that poor attempt to paint this one. What I’m going to do now is grow it over with a passionfruit, using the steel cage as a trellis, and before too long the whole thing will be covered.
And here that is…
And what of the gravel and sand left over? Well that is a whole different adventure 😉
Will keep posting photos as my little rain harvest project develops. Right now I need to take a break from all this hard work!
+Shane Genziuk
Related articles
- These butts are made for watering (greenreview.blogspot.com)
- Rainwater collection (everydayredflags.wordpress.com)
- 4 Clever Ways To Use Harvested Rainwater (bayintegratedmarketing.wordpress.com)




Leave a reply to Dale Thomas Cancel reply